Makerbot mini filament not loading
Be careful to keep the spool tightly wound at all times. Locate the end of the spooled filament and pull it free from the spool. Insert the end of the filament into the filament guide tube. Push filament through the tube until the free end emerges from the end of the guide tube. In MakerBot Print, open the print monitor panel and click Filament.
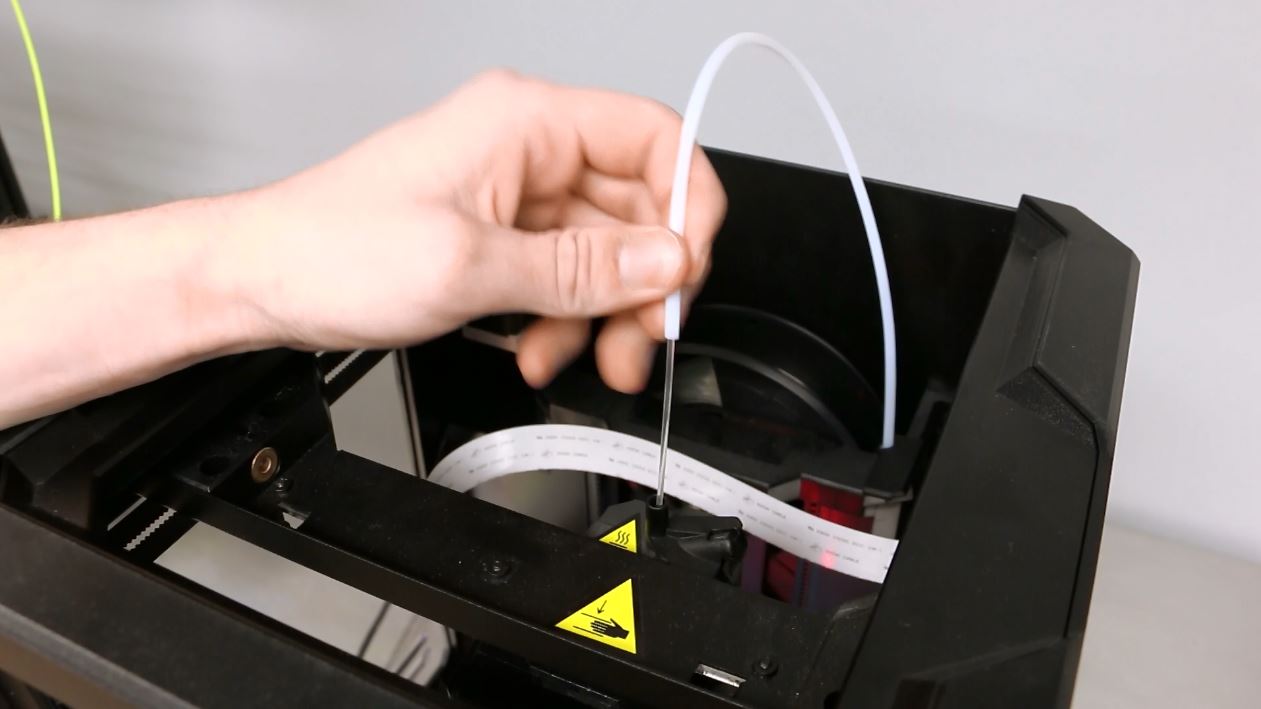
Cut the end of your filament at a degree angle if it is a Smart Extruder. Grasp the top of the extruder assembly and push the filament into the extruder's loading tube until you can feel the motor pulling the filament in. If you're running into a problem during this process, unload the filament and repeat step 5. It may help to press the lever on the side of the extruder and gently feed filament towards the hot end at this point.
When you see plastic emerging from the extruder nozzle, select Done. Grasp the top of the extruder assembly and push the filament into the extruder's loading tube until you can feel the motor pulling the filament in.
Wait until you see plastic emerging from the extruder nozzle before pressing the control panel dial to finish the filament load process. Cut the end of your filament to create a clean edge. You can use scissors or wire cutters to cut a clean edge on the end of your filament.
You don't want to load anything with a bulged, twisted or sharp edge. If you're running into a problem during this process, unload the filament and repeat step. Register your device to ensure you get the right level of service and support. Installing a Filament Spool Open the filament drawer by pulling up the back section of the frame of the MakerBot Replicator.
Wait for the extruder to heat. Fit the filament guide tube securely into the extruder's loading tube. Activate Your Service Plan Register your device to ensure you get the right level of service and support.